How to install ground wire kit
ok guys this is quite easy but JUST in case someone might have questions...why not write a how to right?.
Well tools youre going to need
- socket wrench
- 10mm socket
- 12mm socket (this depends on your kit)
- socket extension
- hex keys (again depends on your kit)
- digital camera (this is so you take pics when youre done)
ok before we begin, do not do this with your engine hot. WAIT UNTIL ITS COLD! trust me i burned my self on the tranny lol. Ok like i said this is fairly simple. First off, if you have a cold air intake or even a short ram, i would suggest to take it off before you start with the wires. Why? well it will open up a lot of room when it comes to remove the bolt on the tranny and the bolt holding the stock ground wire.
ok to start off just remove your negative cable from the batterry. I didnt take a pic of this so you will have to imagine it. lol...and plus if you dont know what im talking about, you shouldnt be doing this at all. after you remove the negative cable from the battery, look down to where the cable is held down by a 10mm bolt next to the battery tray. remove that to be able to remove the cable for good from the bay. this is where that extension comes in handy
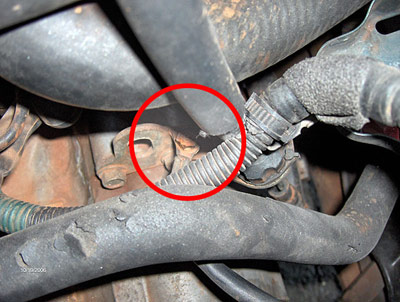
after you remove that bolt, follow the cable down to where its held down by another 10mm bolt on the tranny. i have a one of those cool joint socket things but the extension can be used to get to it. its kinda tight though. anyway remove that to prepare for the first ground cable. after you have done so...toss the stock cable out, cuz its 17 years old and in need of a grave
Once you remove the stock cable, replace it with one of the cables that came with the kit. just attach one end and leave the other hanging for now. I forgot to take a pic of what the wire looks like once its replaced but, you get the idea....i hope
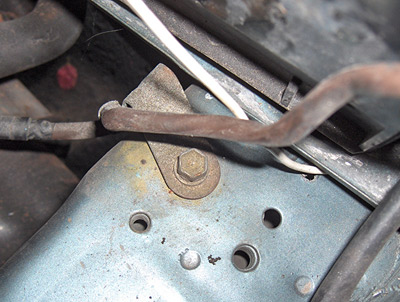
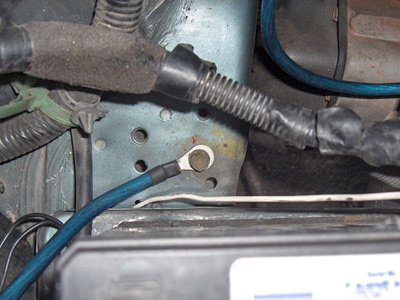
Next were going to add another wire to ground the chasis/body. Remember the bolt you took off to remove the bracket that was holding the stock ground wire? well this is a great place to add another wire to ground the body. Plus my kit came with a short cable, so i made good use of it. again just leave the wire hanging.
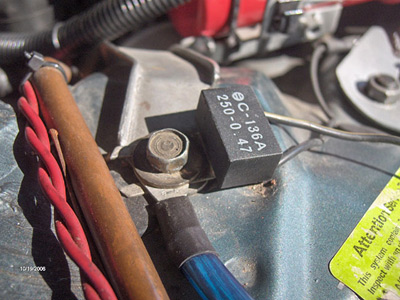
Third wire I addes was to one of the 10mm bolts that holds the bracket to the ignition coil. I figure this is another great place to add a wire to since its such an important part of your car. Just remove the 10mm bolt slip the wire under it and make sure you put the resistor back on there as well.
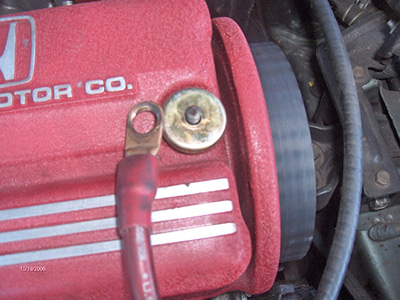
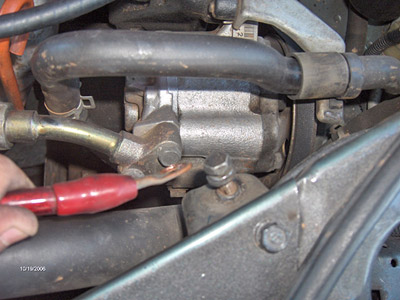
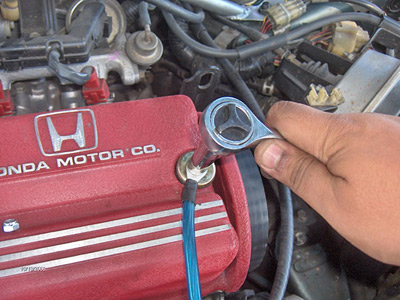
and the last wire we're going to add is to the valve cover. it already has an existing wire there so we're just replacing it. when i first bought my car my stock wire was beat to hell, so i added a cheap wire that i found in my tool box that i used on a stereo install. this was good since it was also 4ga but the plastic surround was burned for some reason...i guess its not heat rated. anyway if you have the stock wire still, it will still be the same procedure. Remove the 10mm bolt that holds the cable down on the valve cover (image 1). Once that is done, remove the Second 10mm bolt on the other end holding the cable onto the sheet metal (image 2).
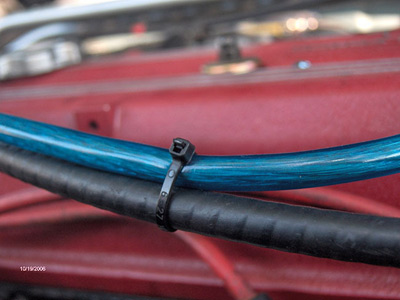
Once the stockie wire is removed, just replace it with the new one (image 1). Because i didnt want the wire hanging, and the kit came with some zip ties, just tie the wire along your clutch cable (if you have a 5speed) and follow it till you get to the battery(image 2)
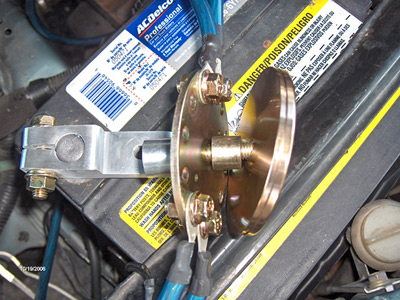
take the terminal that came with the kit and tighten it onto the battery.
Once that's done, add all the wires to the ring that came with the kit and assemble the rest. If you had any wires that went to your neg cable besides the stock one add them onto the ring as well. I had a wire going coming from my fogs to the neg terminal so i added it to the ring
Then just tighten everything up and if you did everything right...it should look something like this.
yep..that easy
Links
- Original 3geez.com Thread - This is the thread this HOW TO is based off of
- How to install a cold air intake

