How to install upper control arms
Getting Started
- Safety first! chock your rear wheels before you do anything else.
- Loosen the lugnuts before you raise the vehicle.
- Now you can jack up the car, but don't put the jack under the oil pan!
- Be sure to use jackstands.
- Gather the tools of the trade and make sure those tools include a ball joint removal tool. It's a pain to try to take it w/ a hammer. I got this one for $5 at harbor freight, but the girl overcharged me. They're only $3, but it still beats the $10+ at any auto parts store.
- Get out that haynes manual -- it comes in handy.
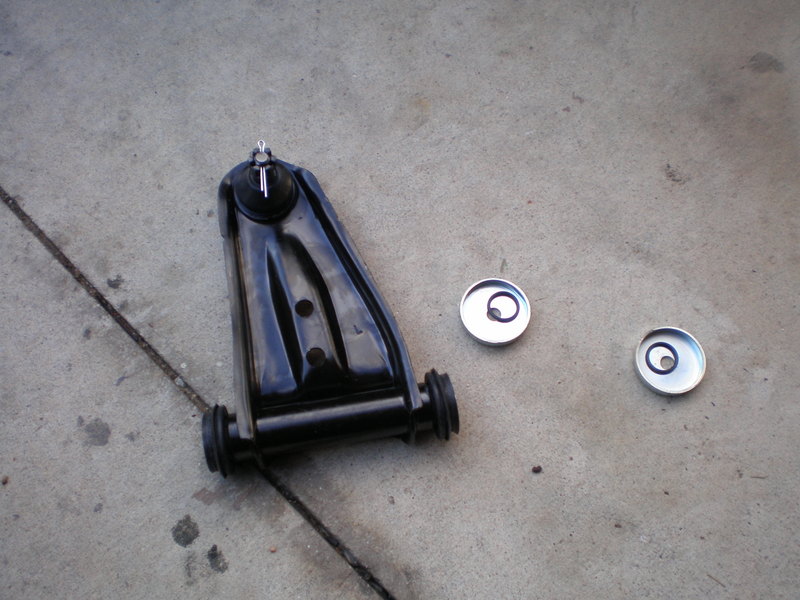
- Here's the principal part we're after. mine is just a stock replacement arm, but if you're using a prelude one, i don't think it will look extremely different. but make sure you get one w/ the bushings, otherwise you'll utter many curses trying to remove them from the old arms. Mine came with new bushings which I already pressed in before I got the idea to take pictures.

Removing the control arms
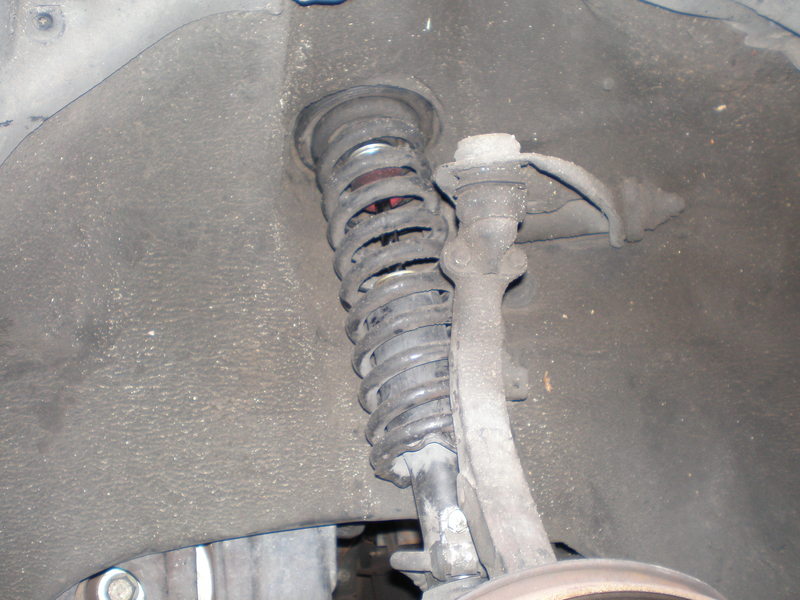
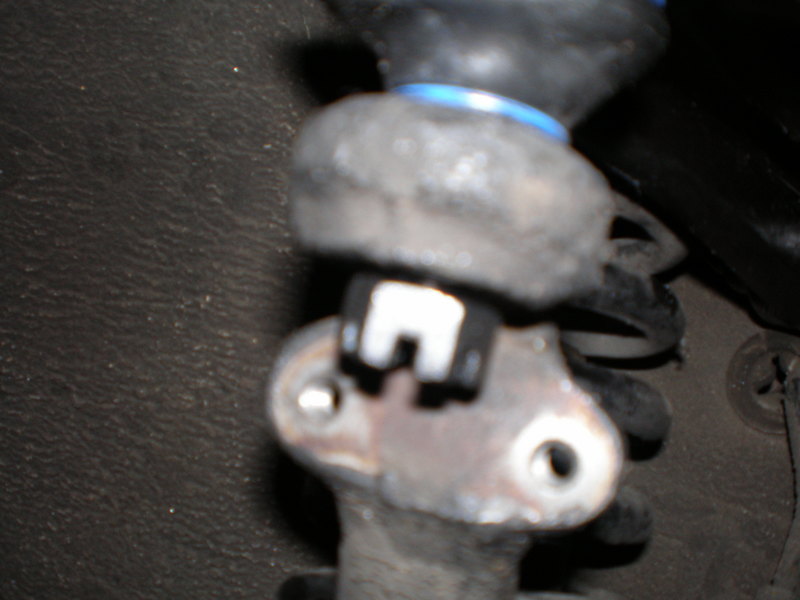
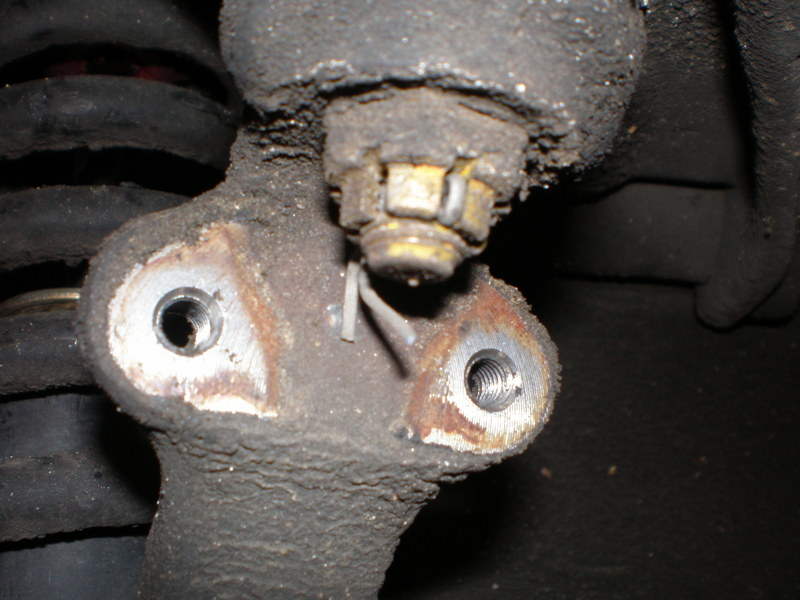
- Once the wheels are removed, you should be looking at something like this:
- Remove the little bolts that hold the cover over the castle nut and take the cover off. 10 mm is the bolt size here.
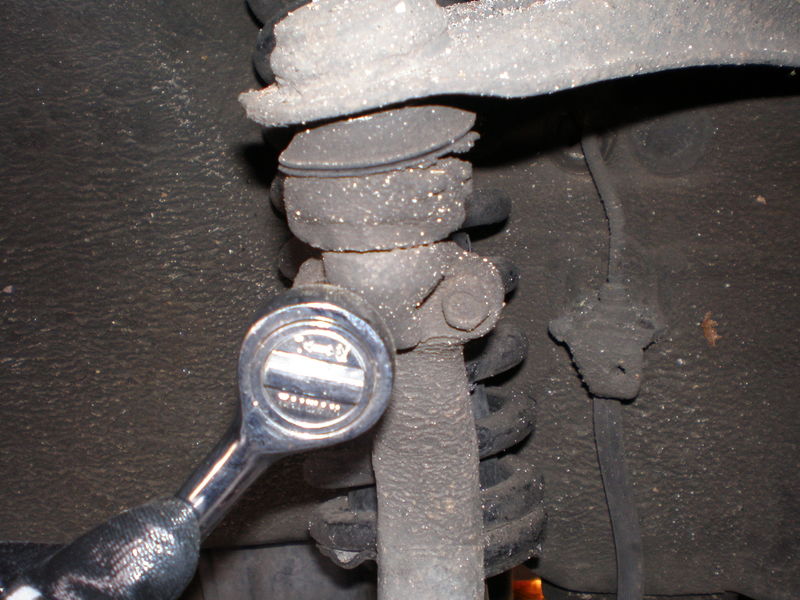
- Now loosen the castle nut, but don't take it all the way off.
- Open the hood and look at the top of the strut towers toward the rear of them. you'll see two bolts, like I've circled in the picture. These are the driver's side. on the passenger side, one is under the "mystery box."
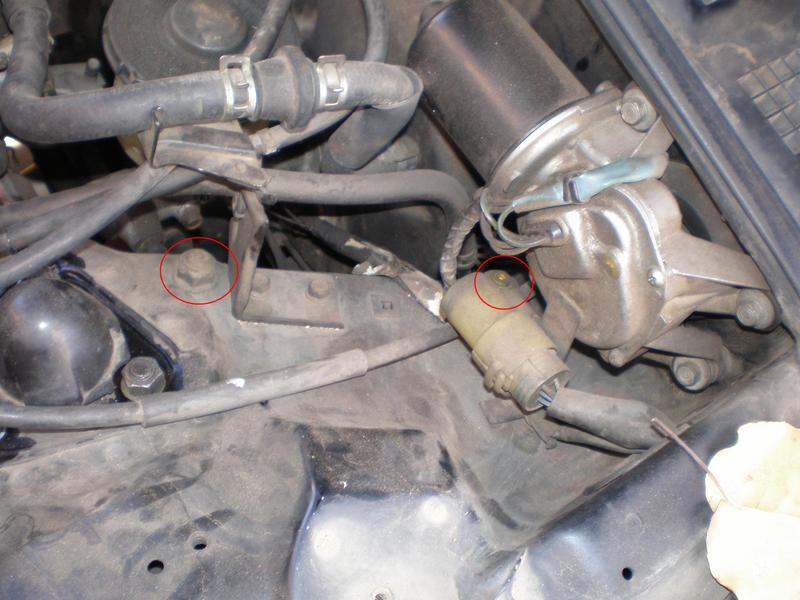
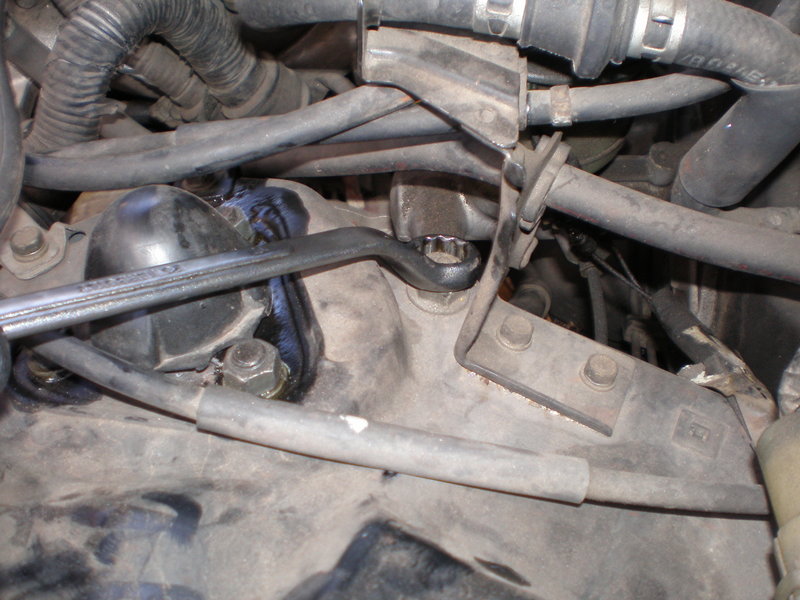
- The passenger side can be done w/ the sockets, but unless you move the metal bracket holding the PCV hose, you're stuck w/ an off-set wrench for the driver's side bolts. remove both of them completely.
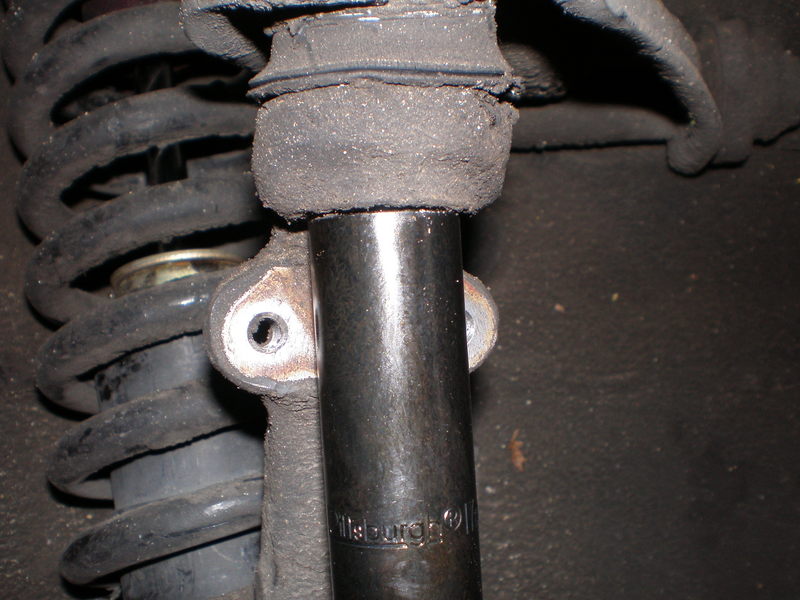
- Now bust out that ball joint remover and position it like so:
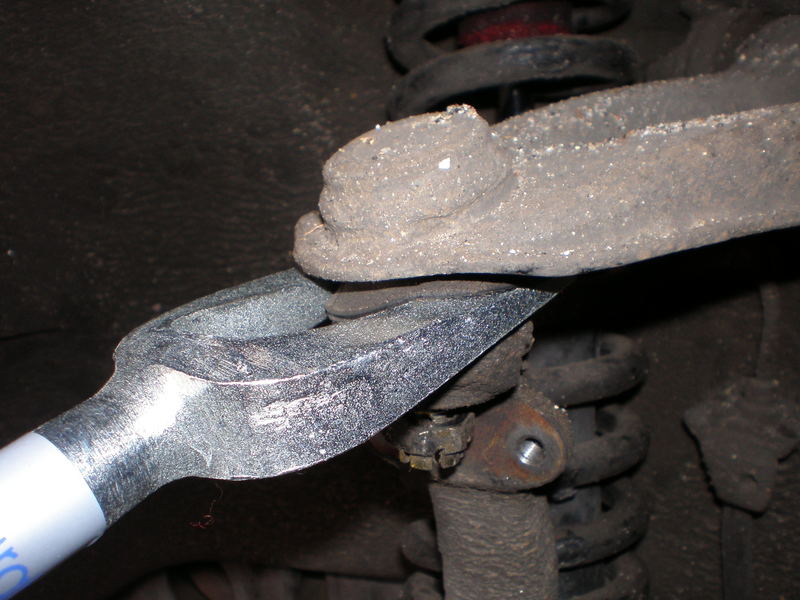
- I just hit it on the end w/ a hammer until the joint separated. You may not even need the hammer. It's up to you and your particular car.
- Remove the long nut that runs through the bushings and reuse it unless you get a new one.


Installation
Installation is the reverse of removal.
- Put the new ball joint in, put on the castle nut, and run the cotter pin through it. check your hayne's manual for the correct torque on it (32 ft/lb)
- After you attach the castle nut, just attach the little dust cover and attach the two bolts to the body.
- Then put your wheel + lugnuts back on and tighten when you let the car back down.


Commentary
Level of difficulty (1-10 scale): 2 or 3, but probably higher without a manual
Downtime: 45 - 60 minutes. However, I took 3 hours on passenger's side, 2 on driver's. But on the passenger side, I had to hammer the ball joint out because I didn't have the tool. On the driver's side, I had the tool. However, it's so much easier to use the tool if the control arm is completely unbolted from the body, not just loosened. And I figured that out quite a ways into the project. Then the bushing wasn't pressed in far enough, so that added even more time pressing it all the way. So if you have an arm with the bushings already pressed in, you can probably expect 20 minutes/side with all tools and everything flowing smoothly. If you have the press the bushings in, add another 10 minutes to each side to get those pressed in correctly. If you press them in wrong, it's a real pain to fix.
Links
Original write up by snoopyloopy and appears in this thread: How To: Changing upper control arms/Install Prelude or aftermarket arms